I’ve mentioned before that over recent years I’ve been learning printmaking techniques. My newest little adventure is to learn drypoint.
This is a process that appeals to me because it is very simple and direct. Basically, an image is scratched into a printing plate (metal, plastic or special card) with a sharp point.
The plate is printed in the same way as an etching plate but the drypoint print has a softer-looking line. (A result of the ink being held not just by the incised line but also by the raised burr pushed up by the sharp point.)
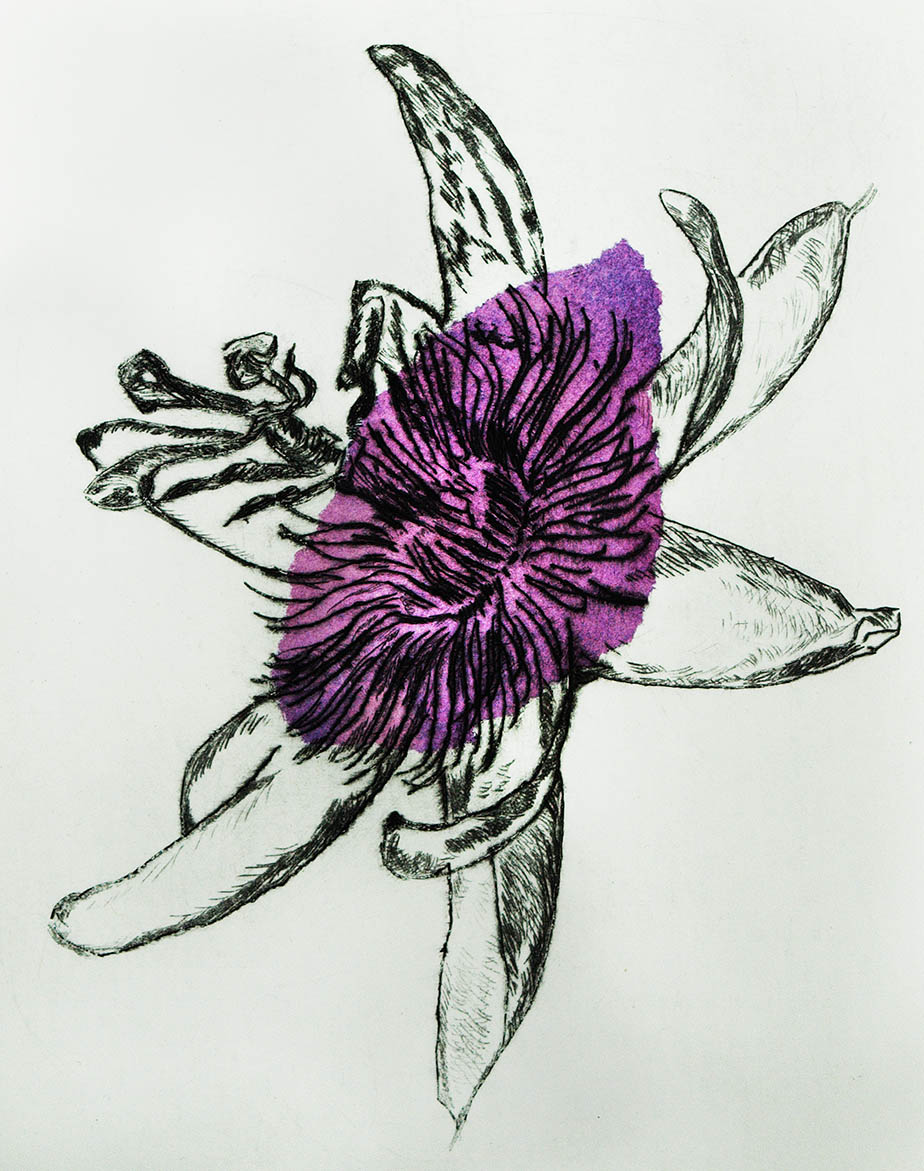
For my first attempt at drypoint, I’ve used a drawing based on this photograph:

This is the same image that I used for the intaglio print/photography combination that I wrote about here.
The plate I used for this print was clear plastic. (You can see it in the photo below.) This has a huge advantage over metal – you can just lay it over a drawing or photograph and use that as a guide for inscribing the lines of the image. To scratch the lines into the plate, I used an engineers’ scriber. (You can find these for around £5 in D.I.Y. stores.) Anything sharp enough to mark the plate is worth trying but there are specific drypoint needles with different sizes of tips available too. I’ve recently bought a couple of these – shown in the photo. (Above the engineers’ scriber.)

The printing plate is inked and wiped in the same way as an etching plate. (But treated more gently, to preserve the burr along the edges of the lines – this helps to give the characteristic fuzzy look to the printed lines.)
As you can see from this description, the drypoint process is very straightforward. It’s also pretty inexpensive to try out. Even better – there are no chemicals involved. (Hooray! Great!! I’m very happy to be able to avoid using the nastier printmaking chemicals – some are very toxic!)
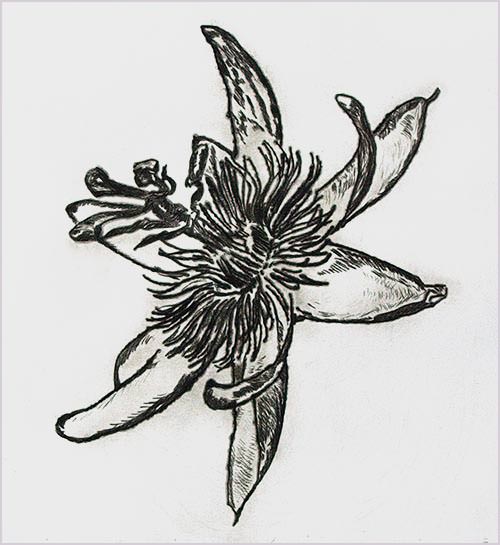
Making the drypoint print was a process that I really enjoyed. I found something very satisfying about scratching the lines into the plastic plate. And it’s also very pleasing to be able to use my photographs as a starting point for a printed image that will look quite different. I’m planning to make more prints soon and (if you’re interested in printmaking) I hope that I may have encouraged you to give drypoint a try.

[…] my interests is printmaking – most recently I’ve been learning drypoint. (Read about it here.) Next I’d like to learn […]
LikeLike