I’ve been waiting for a chance to take photographs of these hellebores for a while. At last the weather has become calmer. The wind has died down again and there have even been a few dry spells.
It felt good to get back outside into the garden with my camera and I was relieved to see that the rough weather hadn’t harmed the flowers.
But actually getting into a good position to photograph them was going to be a bit tricky. At the best of times it can be awkward to get close enough to low-growing plants, especially when the ground has become too much of a swampy mess to kneel on. Hellebores make it even more difficult by insisting on hanging their beautiful little heads down. You have to practically get to worm’s eye-level if you want to see them.
Luckily for me, there was a stack of bags of compost nearby and I was able to drag one over and lie down on it to get my photographs. Having one elbow firmly wedged against a big plant pot helped to make sure that I didn’t take a nose-dive into the mud.
All this makes me realise that I may have to change the arrangement of some of the garden borders. Far too many of the smaller plants are positioned quite far into the border, so that you really need to get right into the border to photograph them. Without standing on the other plants. Or getting jabbed by something prickly. Or even sitting down unexpectedly in the mud! Hmm, this may need a bit of thought…
It’s particularly vile outside at the moment. Right now we have high winds and sideways rain and there was even some short-lived snow earlier in the week. So it’s comforting to know that the early flowers have survived, despite the weather’s attempts to shred them.
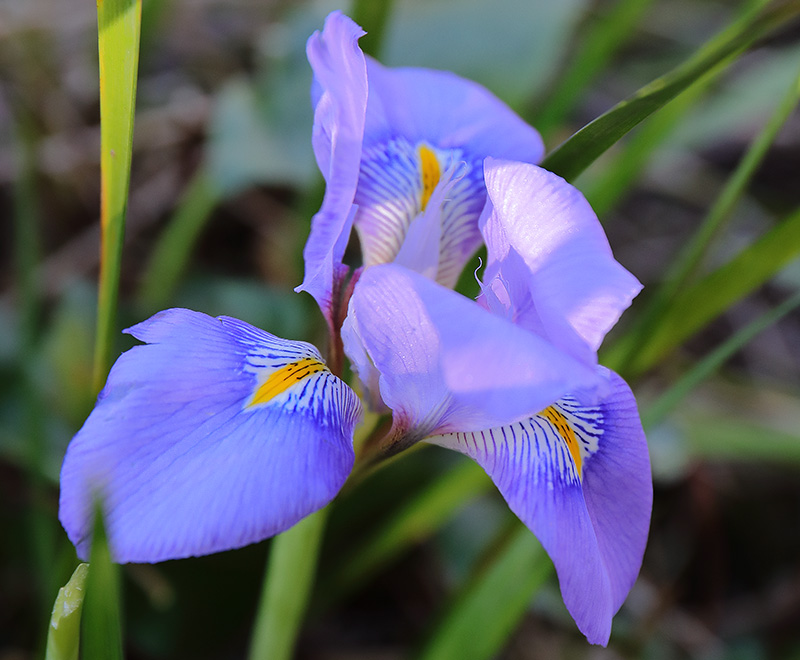
I photographed these irises a few days ago, in a dry and sunny gap in the stormy weather. (The weather forecast is my friend! I keep an eye on it to know when I must dash outside and photograph flowers before they are ruined.)
These fragile-looking flowers are iris unguicularis – had to check the spelling of that one – otherwise known as ‘Algerian winter iris’.
The plant was given to me by a generous neighbour and has slowly got itself established in a sunny border. It’s a plant that grows wild in Mediterranean countries and likes dry and sunny sites, so is well-suited to our hot and thirsty garden. (But the present heavy rain is unlikely to please it.)
There have been a good number of flowers this year, with a couple of buds still waiting to open. That is a good improvement over the previous years, when there were only three or four flowers and I thought the plant wasn’t too happy where it was. I’ve read that this iris flowers better as the clump gets older and more congested, so I’m looking forward to good displays in years to come…and a good reason to be outside on a wintry day with my camera.
It’s been a very blowy, wet, and sometimes stormy couple of weeks here. Everything outside has had quite a thrashing from the wind, so I’m grateful that the early flowers have somehow managed to survive.
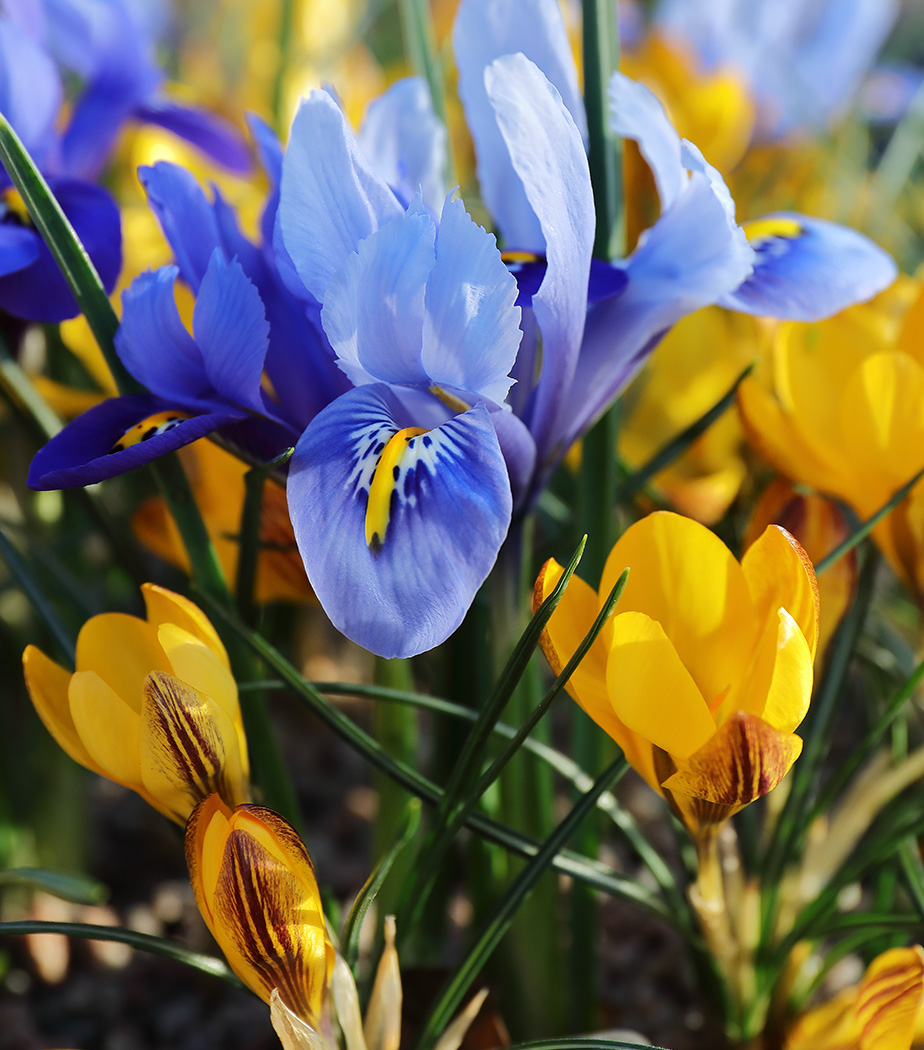
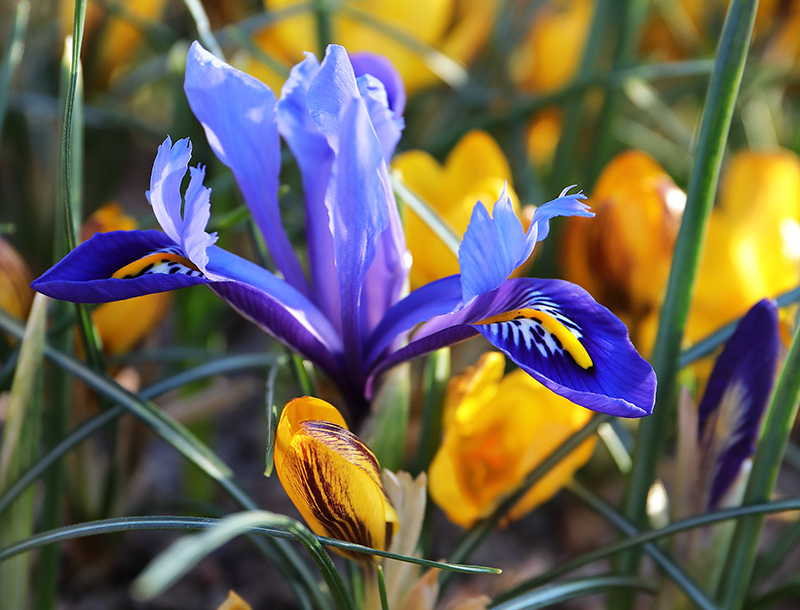
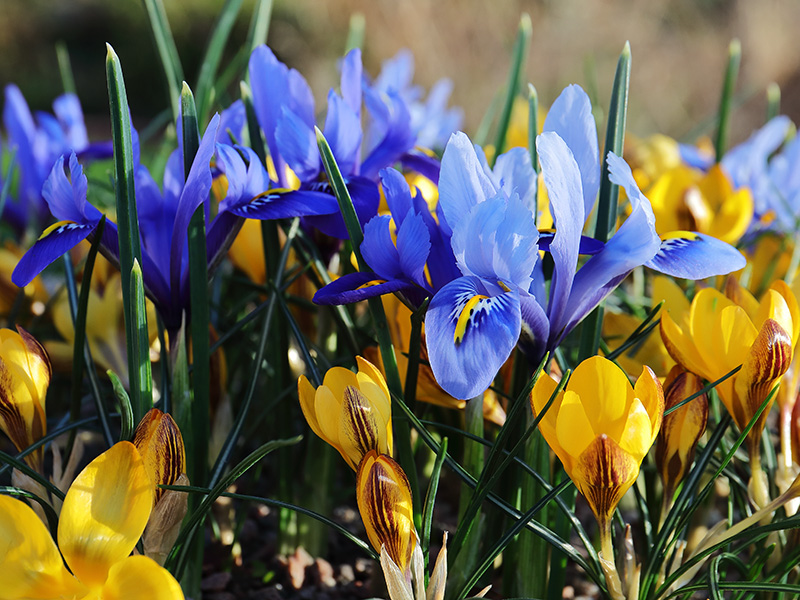
Last autumn I planted a shallow pot with the yellow crocus ‘fuscotinctus’ and dwarf reticulata irises ‘Cantab’ (the paler blue) and ‘Harmony’. Their pot sits at the front door and gets a lot of sunshine and a little bit of shelter from the wind. It has been a delight to see the colour gradually appearing as these flowers opened.
Despite that bit of shelter, it was a challenge to take photographs without too much blur as the upper petals of the irises fluttered in the wind. Sometimes flower photography means that you just have to hope to be able to snatch a shot right when there’s a slight drop in the breeze!
Every year I’ve said to myself that I must try to photograph all the flowers in the garden, starting with the early bulbs…and not managed it. Something would always get in the way – maybe something garden related, like sowing seeds and clearing weeds from borders, or a family responsibility that needed my time.
This blog has changed that and given some structure to my photography. It has created the need for me to take photographs every week and has put both my garden and my photography at the top of my ‘to do’ list (right along with writing my weekly blog post).
Now I can pay more attention to the gradual arrival of spring here and the changes it brings to the garden. That makes me very happy and full of anticipation of the gardening year ahead. It’s a bit of a luxury really, but these days my time is more my own and I can spend it being the real me – obsessed gardener and photographer! (Happy days!)
It feels like a very special treat when the hellebores start to flower. I don’t have many in my own garden yet, so I enjoy seeing them in other people’s gardens and wherever they’re offered for sale .
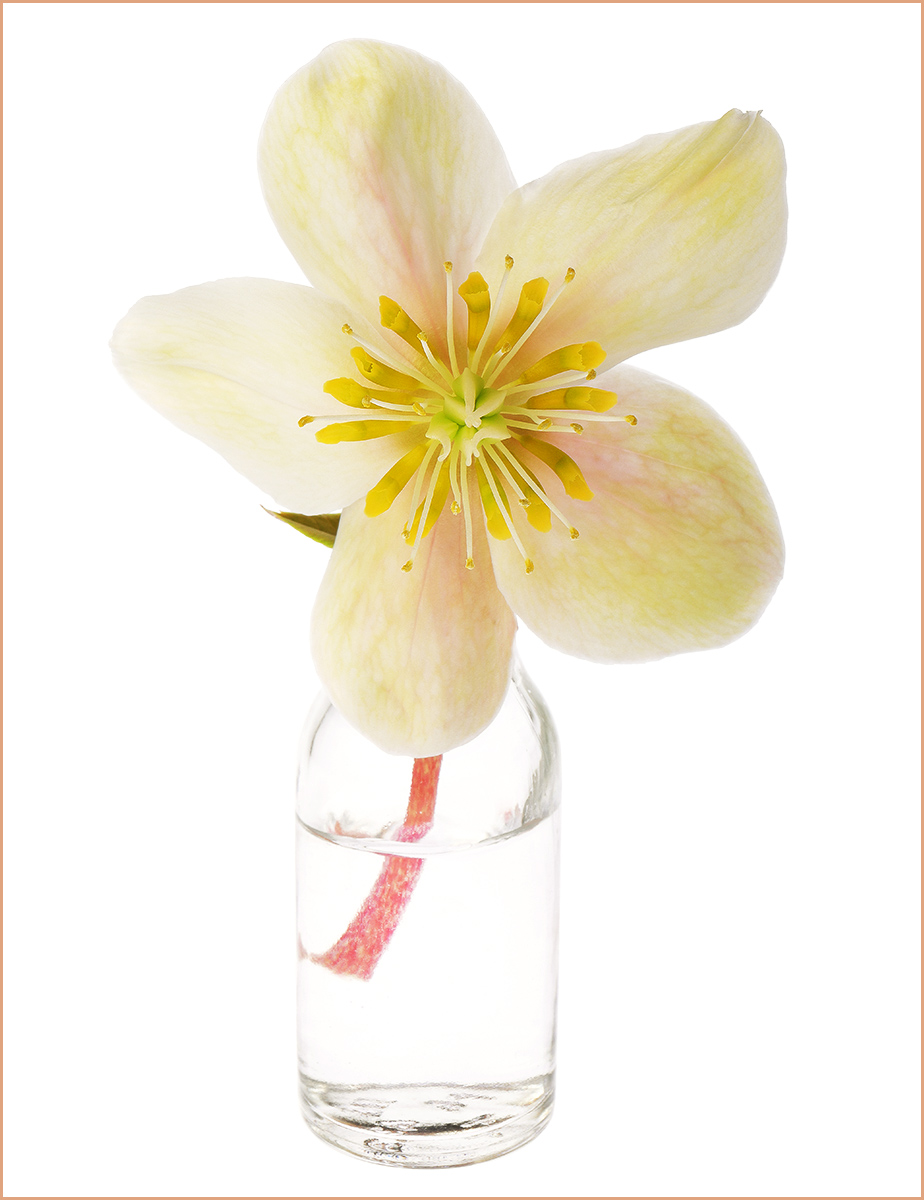
Recently I treated myself to a couple of new hellebores. According to the labels, they are ‘Shooting Star’ and ‘Cinnamon Snow’, but they are so like each other that it’s hard to be sure if they are actually different. (Plant labels can easily get mixed up in garden centres!)
As far as I can tell, the ‘Shooting Star’ is very close to white, with a touch of pink and yellowy-green to the flower as it ages. In the photo above, these tints are more pronounced because the bright studio lights make the colours of the reverse of the flower show through its slightly translucent petals.
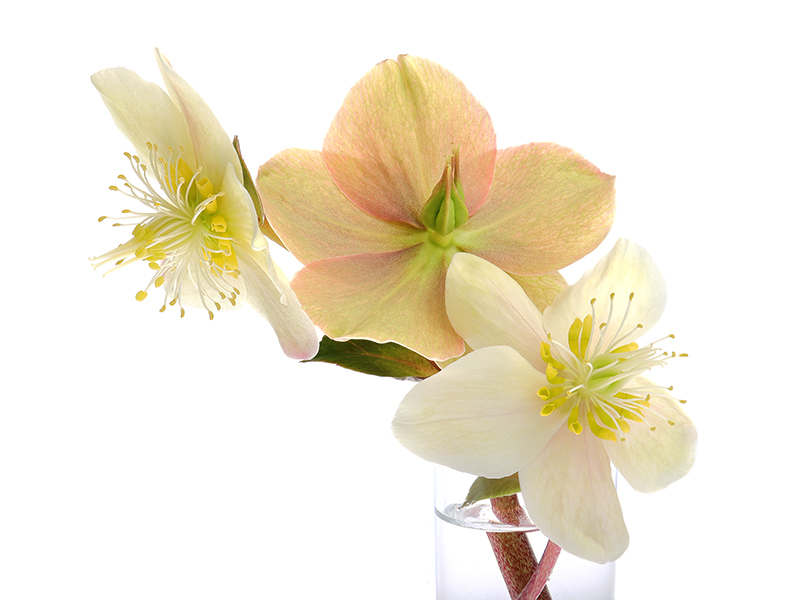
‘Cinnamon Snow’ is a little darker, with a peachy-pink blush to its creamy flowers. It’s interesting to watch the flowers darken and develop more of a green colouring as time passes.
The flowers on these plants are a bit more upright than most hellebores, which makes their pretty faces much easier to see in the garden. (Usually I find I have to turn the flowers of hellebores upwards to see what they look like, so their beauty can go unseen if there isn’t time to stop by them for a while.)
I’m looking forward to watching these plants settle into the garden and bring a little bit of sheer loveliness to late winter.
By the time you’re reading this, the garden here will probably be under attack from gale force winds and heavy rain as storm Ciara passes through.
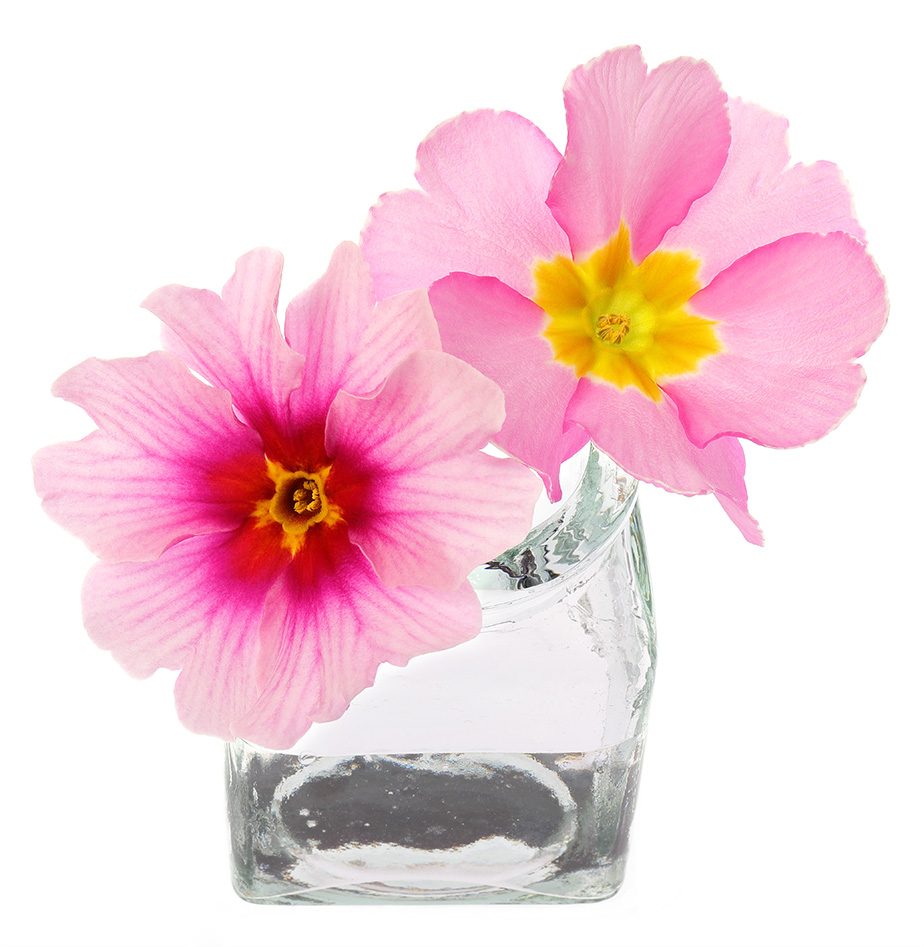
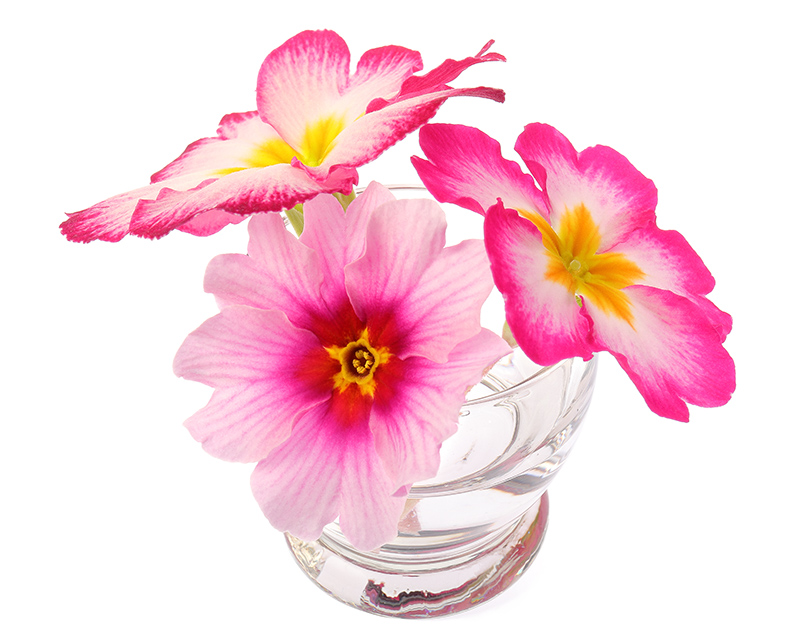
During this sort of gardener-unfriendly weather, I’m very happy to be able to stay inside, working in the comfort of my tiny studio space. So I am always on the lookout for flowers that lend themselves to indoor photography. For this, primulas are very obliging.
Primulas are easily available at this time of year in a great variety of colours and markings. They don’t cost much to buy and the flowers, once picked for the studio, last well in water.
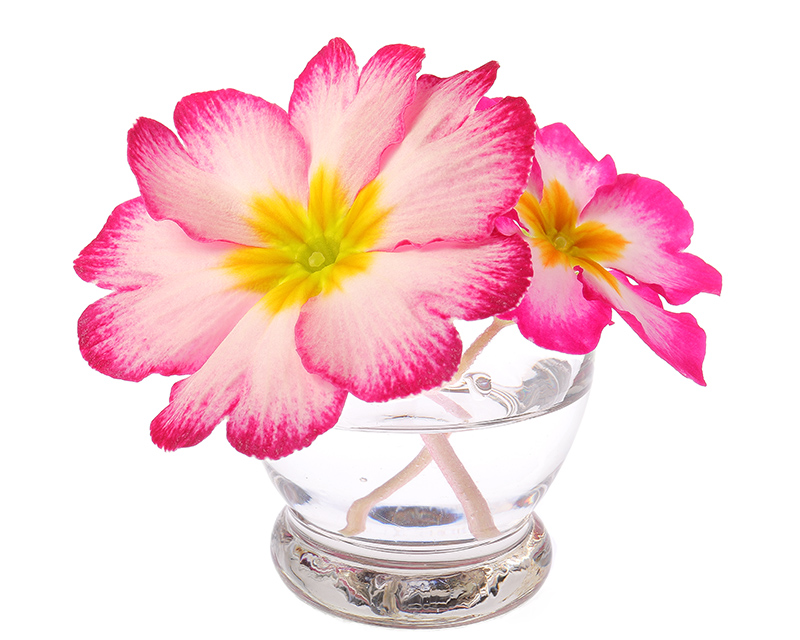
To be able to photograph such short-stemmed flowers, I have a collection of very small containers that act as mini vases. The top photo has a square recycled-glass bottle that is only 2 inches high – just the right size for very small flowers. The container in the other photos is probably an old eye-wash glass and it’s wide enough for several flowers.
Other useful ‘vases’ for short-stemmed flowers include vintage ink bottles, candle and tealight holders and shot glasses. It’s been fun shopping for these in junk shops and vintage stalls – you never know what you’ll find that will help to make a good photograph.
Now that the primulas have been photographed, I must decide where to plant them. They somehow look a bit formal and perhaps too showy for most areas of the back garden (which is now developing a more ‘natural’ look), so they’ll probably be planted in the front garden. Sadly, it seems that these highly-bred primulas are not useful to bees so I won’t be buying many of them. (Instead I could buy the yellow-flowered Primula vulgaris, which is native to the UK and is a good plant for bees, butterflies and moths.)
I hope you enjoy this little bit of cheery colour!
In part of the drab mid-January garden, lots of little yellow flowers sparkle amongst the bare branches of the dormant shrubs.
They are the flowers of winter jasmine (Jasminum nudiflorum), whose lax stems make it seem more like a climber than a shrub. In my garden it blends well with other shrubs because the long, thin stems with tiny leaves take up little space. It fills the gaps between other plants and becomes almost invisible in summer, while the other shrubs are in full leaf.
But just you wait for winter! Then the yellow starry flowers shine out against their dark background and add a touch of exuberance to brighten a cold and gloomy day.
If you leave it unpruned, the winter jasmine can spread quickly, with its flexible stems sprouting roots wherever they touch the soil. It’s easy to control the plant by pruning it after the flowers have finished, and it can be trained onto trellis or kept cut back to form a shrub. Personally, I like to have it growing in its natural, spreading form and I’m going to gather up some of the rooted stems to start new plants in other parts of the garden.
The flower you see in the photograph had been frosted and was still covered in water drops from the thaw. Although the frost destroys the jasmine flowers that are open, there are plenty of undamaged buds to provide lots more flowers – I’ll be sure to take the time to enjoy them. (And to take some more photographs!)
There’s not much happening to photograph out in the garden at the moment. Instead, I’m looking back through some older photos that have been hiding in my PC as unconverted RAW files. Processing them is one of those jobs that I never fully catch up with and sometimes I find an image I like lurking there.
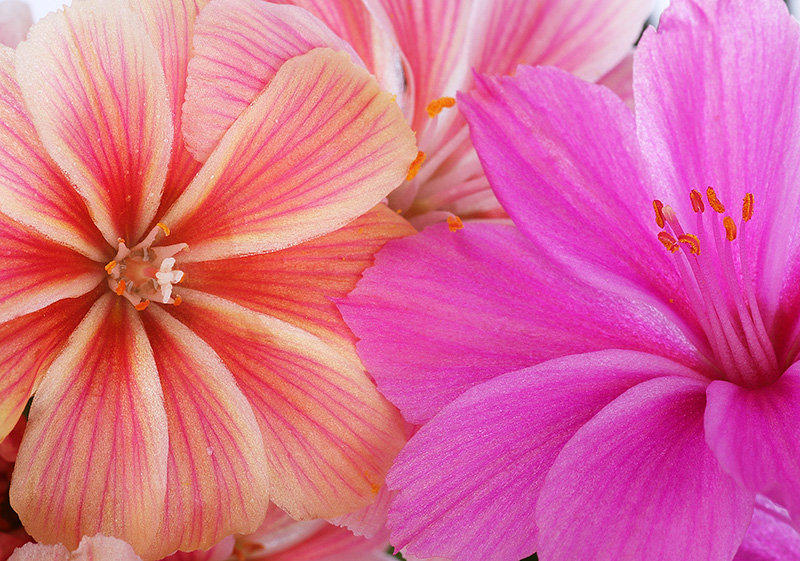
These lewisias were bought a couple of years ago because I couldn’t resist the gorgeous deep pink and the orange with pink veins of their vibrant flowers. They just had to be photographed! (These are Lewisia cotyledon ‘Sunset Strain’.)
I’d be happy to wear these bright colours!
The petals make me think of light, silky fabrics. Like something you might wear on a summer’s day – rich, bright and full of the joy of life.
Photographing the flowers makes me aware of how delicate and translucent they are. As you’ll see in the last photo, the studio lights can shine through the petals, revealing their veining and the texture.
Close-up of a lewisia flower.
Unfortunately, I’ve never managed to keep lewisias growing for very long. They are natives of dry, rocky places in North America and need really good drainage. I have been able to keep some alive for a few years in clay pots, until I have eventually over-watered them. These, however, were planted in a very dry garden border and were happy until winter rains got to them. So it will be back to the pots for the next lot! Then I’ll be able to bring them under cover in winter.
These little beauties may not last long with me but that won’t stop me from buying more and trying again. I hope that I’ll learn how to look after them properly at last!
You can see the light coming through the petals of these flowers.
During the winter I’m glad to be able to photograph plants indoors. It feels good to be able to stay warm and dry! And life is much easier when there’s no need to worry about the flower you’re trying to photograph waving around in the wind.
More importantly, taking photos indoors means that there is plenty of light available to me. I have a very small studio space set up in the house, complete with flash lighting, which allows me to be busy taking photographs at any time of day.
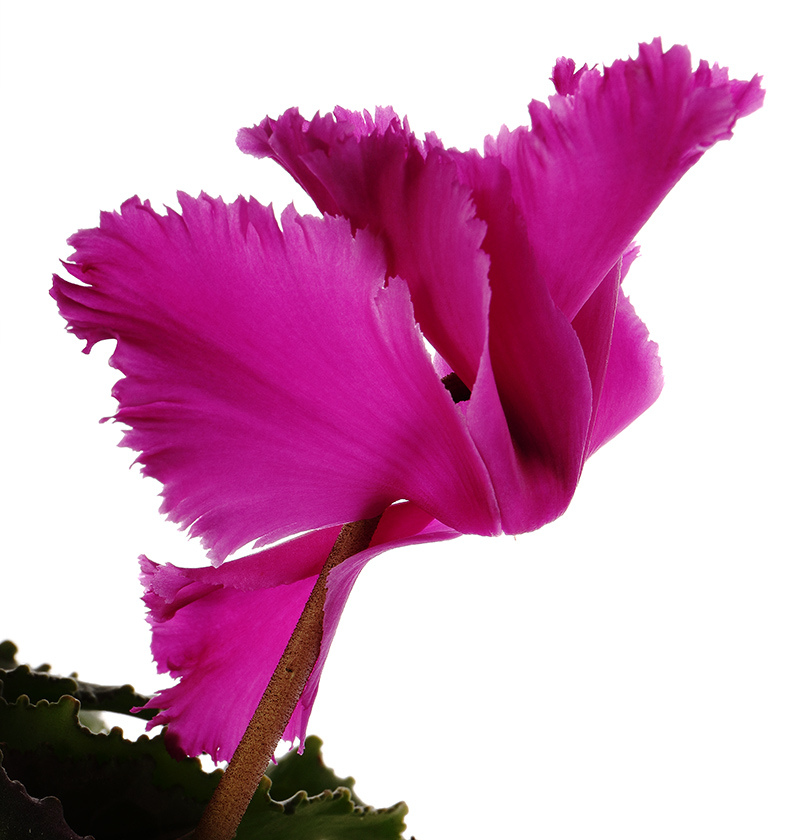
I wanted the light to catch all the little crinkles and curled edges on the petals of the flower.
The photographs here were taken with a very simple setup. The white background is created using a small ‘light table’, which is basically a piece of translucent white plastic which is curved into an ‘L’ shape on a metal support. This gives a base and background that is lit with flash strobes both from behind and from below. These are adjusted to give an evenly lit bright white background to the photo.
The flower itself is lit with a flash fired through a white translucent brolly and a reflector at the side to provide a little bit of light to soften shadows. I like using this particular arrangement because it gives a slightly ‘harder’ light than the softbox that I’ve used for previous photos on this blog. This helps to bring out the shapes within the flower and gives a feeling of depth.
The shadows help to give a sense of the shape of this cyclamen.
Having the flash pretty much to one side of the flower means that shadows can form in the ripples on the petals. If you look at the photograph below, you can see that there is a slight shine to the area at the centre of the flower, on the left side. This shows where the light is coming from. (More or less at a 45 degree angle, slightly higher than the flower and only just in front of it.)
If there wasn’t a reflector (a silver-coloured disc) at the right side, that side would be in shadow. The reflector is just enough to lighten heavy shadows without removing the shadows entirely, so you’re able to see the flowing shapes of the petals.
Digital photography has made using studio lighting far easier than it was with film cameras. (For years I used film, and I tended to stick with safe setups that I new would work.) Experimenting is easy when you can see the results straight away and you can soon find what happens when you move the lights around.
So when the weather’s turned miserable, I’m quite happy to be indoors, so long as I can find something to photograph…
The petals seem to swirl around this little flower, almost as if they’re floating.
Sometimes things don’t go to plan with my flower photography. This year I wanted to photograph the range of different colours (including white, pink and lilac) of the Dianthus ‘Rainbow Loveliness’ given to me by a friend.
However, rain and the fact that the plants were grown from seed this year, so not yet large enough to have a lot of flowers, made it difficult.
By the time the young plants were ready to flower, the drought of summer had passed and it had become rather wet and windy. This meant that the delicately fringed flowers were easily damaged. I would walk past them and think, ‘Must take some photos’, but by the time I came back to them, the rain would have got to the flowers and would have left the petals trailing limply.
In the end, I managed to take photographs of just the one bicoloured flower. For close-up photography like this, the flowers really need to be in excellent condition. Sadly, my timing wasn’t good enough to catch the others when they were fresh and undamaged.
Not to worry! Next year the plants will be bigger and able to flower more profusely. They should also be able to flower earlier in the summer, when the weather is likely to be drier and kinder to fragile flowers. Then I should have a chance of of photographing more of these strange but pretty dianthus (‘pinks’), whose petals look like swirling strands of seaweed floating in an invisible sea.
The weather in the past week has been rainy, so not much good for gardening. But it has been ideal for a bit of ‘armchair gardening’. I’ve been thinking about the planting for a new area and imagining which plants might look good there.
Elsewhere in the garden there are a lot of deep or bright colours. I’d like to keep this new patch a bit softer and fairly informal. (Having lighter colours towards the back of the garden can give an effect of receding distance, making the garden look slightly bigger.)
This white rose has just the softest blush of pink.
Recently, I bought a white-flowered hibiscus, called ‘Red Heart’ because it has a bold red marking at the centre of its flowers. This was originally meant to go in the border alongside the new pond but, as I’ve been planting that area up, I’ve realised that there won’t be space for it.
Instead, I’m going to dig out a new border behind our main sitting-out area. (This is a tiny paved space with a wrought-iron arbour which is smothered by a grape vine at one end, and a more open seating place at the other.)
Because it’s an area for sitting around and taking it easy, I’d like to keep the planting looking relaxed and soothing. Somewhere that will help you to let all the stresses of the day ebb away. Whites, to pick up on the white hibiscus, and pale pinks are the most likely choices at the moment.
We already have a white-barked birch tree nearby, and I’m planning to move some pale pink Japanese anemones to another border behind the new area. (The anemones are beautiful thugs, so they’re getting a border of their own where they can run riot.)
This acanthus has delicately marked veins, but it looks rather spiky.
Sidalcea, astrantia and erigeron (Mexican fleabane) grow in the garden here, so it should be easy to introduce them to the new area too. And we have lots of dark red scabious – a few of those would help to emphasise the similarly-coloured red markings on the hibiscus.
Among the plants waiting to be found homes in the garden here are several white and pink rock roses (Cistus) and they would be likely to enjoy the sun in this border. So the planned area is beginning to look very pink and white, especially if I also add a pale rose like the one in the photo. (Don’t know its name.)
And maybe there should be some acanthus too – it has similar vein-markings to the astrantia and the ‘architectural’ form of the plant would be very striking. But that spiky look might not be so relaxing to look at! (Acanthus is a plant you need to be very sure about wanting, because it’s very hard to get rid of and can grow from little pieces of left-over root.)
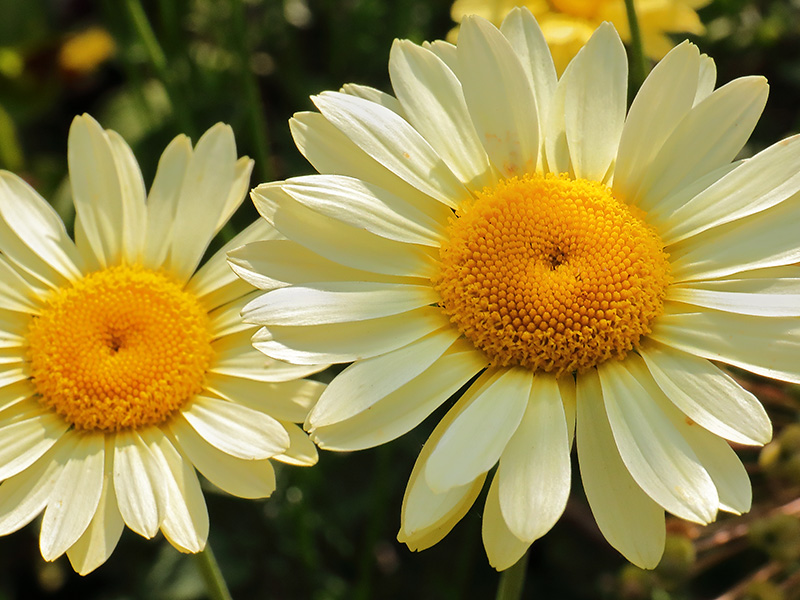
The sunny little daisies of Anthemis ‘EC Buxton’
The plan for this new area may be getting a little too pink, so some other pale colours could be added. I love the happy little daisies of the anthemis above. They’re like a sprawling splash of sunshine in the border and have a very informal look. Nigella also has that relaxed feel about it and would be delightful to see close-up. (The area behind the seating is a little higher, with a low retaining-wall because our garden is on a slight slope.)
Fantasy-gardening and planning new planting is a very pleasant way to spend wet days. But maybe the best thing about it is that it gets the enthusiasm going for starting the work. The rain is over for now and the forecast for the next week is mostly dry, so it looks like I have some digging to do…